A Couple of Charlotte Mason’s Thoughts on Geography
In Charlotte Mason’s A Philosophy of Education, she writes (on page 224):
Perhaps no knowledge is more delightful than such an intimacy with the earth’s surface, region by region….Great attention is paid to map work; that is, before reading a lesson children have found the places mentioned in that lesson on a map and know where they are, relatively to other places, to give parallels, meridians.
Over the years, we have incorporated varying methods of becoming intimate and, therefore, delighted with the geography of “this planet which has been assigned to us as our abode and environment” (Vol. 6, pg. 224). One recent project that we have undertaken toward this end is to Embroider the World, continent by continent.
Embroider the World Project Tutorial
As I (Lisa) shared my progress on this project on Instagram, there developed some interest in a tutorial, so…here goes!
Supplies
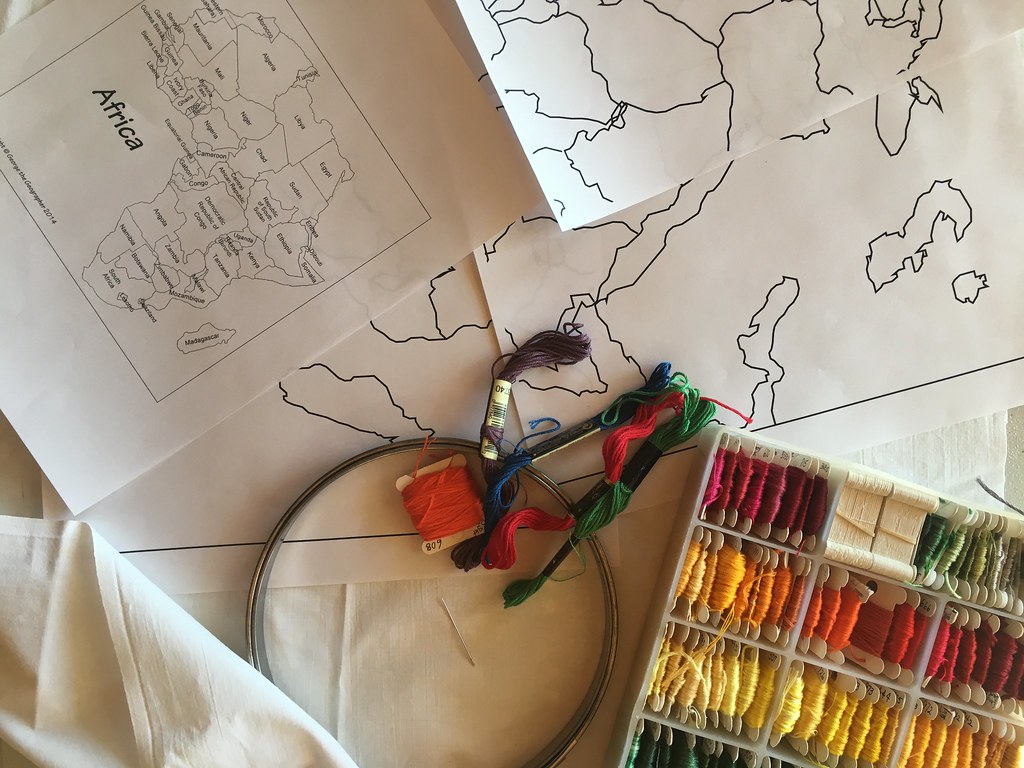
-Printed maps (see below);
–Fabric of choice corresponding in amount to your final project size (for this project, instead of diving into my fabric stash, I bought 3/4 yd. of white woven muslin at Hobby Lobby for about $5 and tore it in half to accommodate my goal of a 16″X20″ finished map);
-Embroidery hoop;
-Embroidery needle;
-Embroidery thread (you really only need about five different colors–or their variations–and darker colors show up better than, for example, yellows).
1. Print maps for tracing and for reference.

I use http://www.yourchildlearns.com/megamaps to print the maps that I want to trace. There are several options for sizes, so I chose to have my final embroidered maps fit onto a 16″X20″ canvas (eventually) for mounting. The “4 pages” size matches my canvas size. If you want a smaller or larger (how fun would THAT be?!) map, choose accordingly.
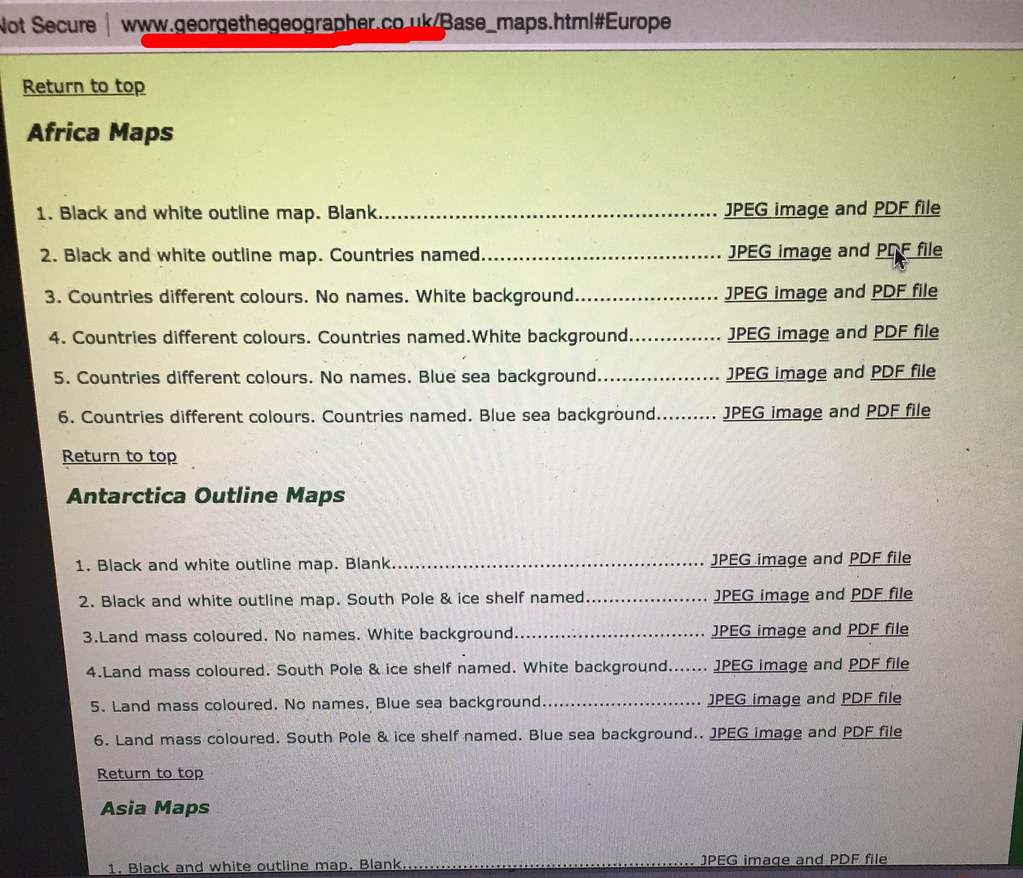
While I am printing maps, I use http://www.georgethegeographer.co.uk to print an accompanying reference map. I print this as a regular 8-1/2″X11″ sheet to carry with me in my embroidery supplies because the boundaries on the larger maps are sometimes indistinct after I have traced them and I want to be as accurate as possible while I am embroidering. Also, the reference maps have accurately spelled country names.
2. Tape together the pages of the large map that will be traced onto your fabric.
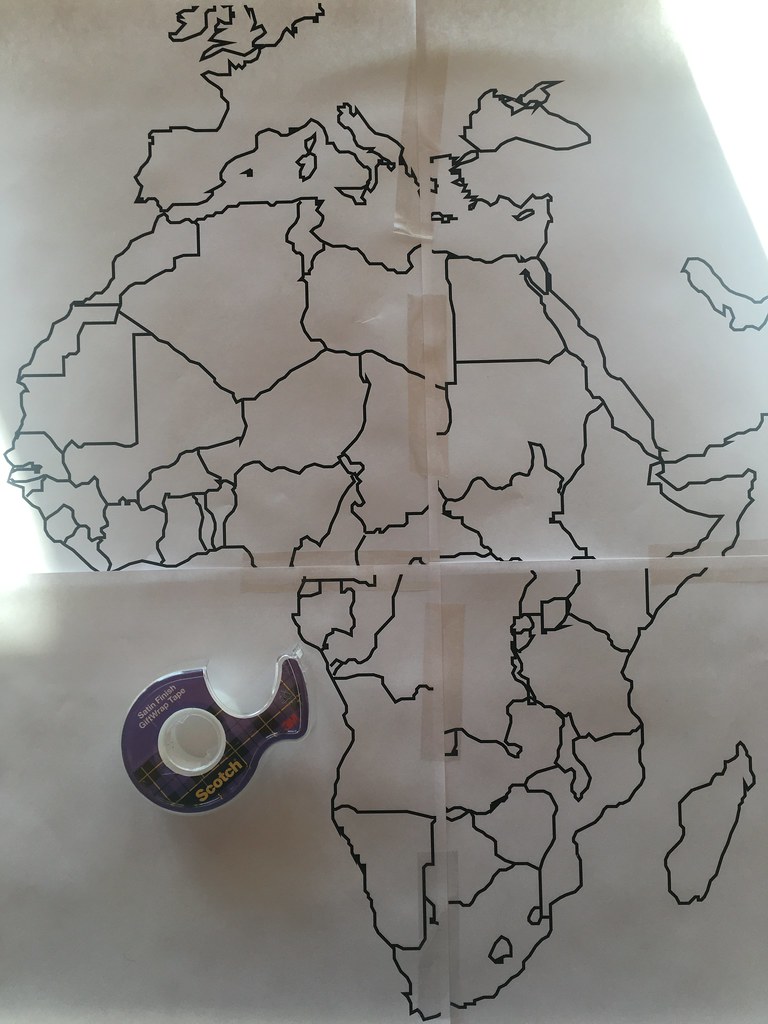
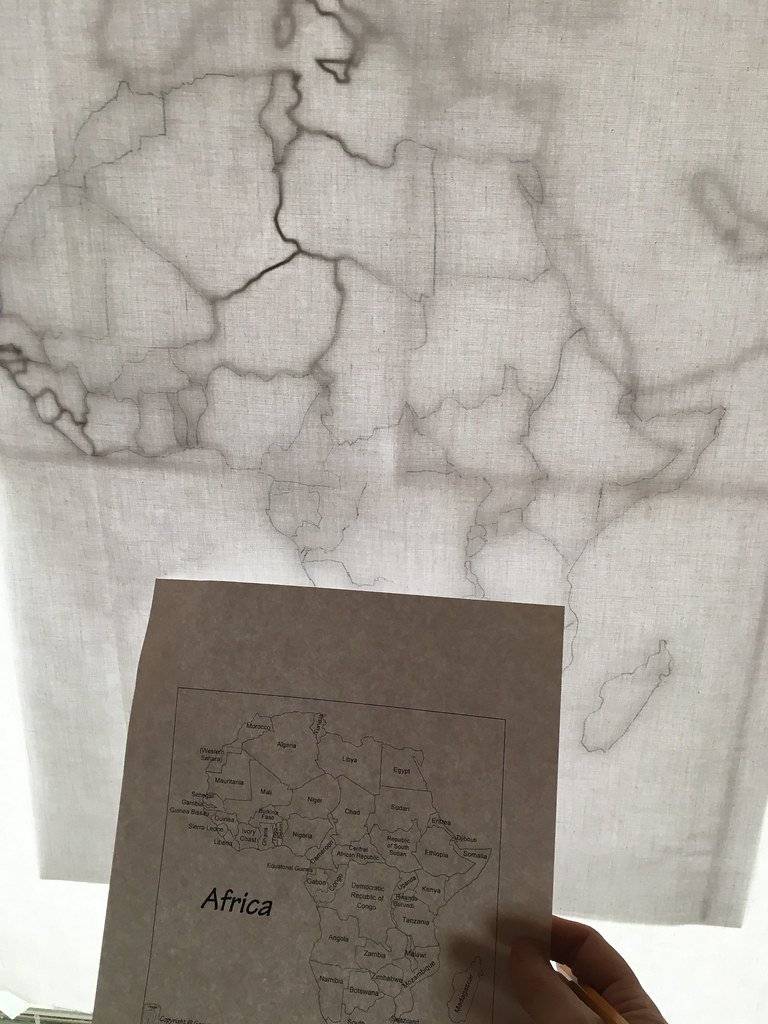
3. Tape the assembled map to a window.

4. Tape your fabric to the window over your map.

5. Using a pencil, trace your map onto your fabric (and be prepared for arm fatigue :-)).
6. Compare your traced map to your reference map to fill in any gaps and check for accuracy.
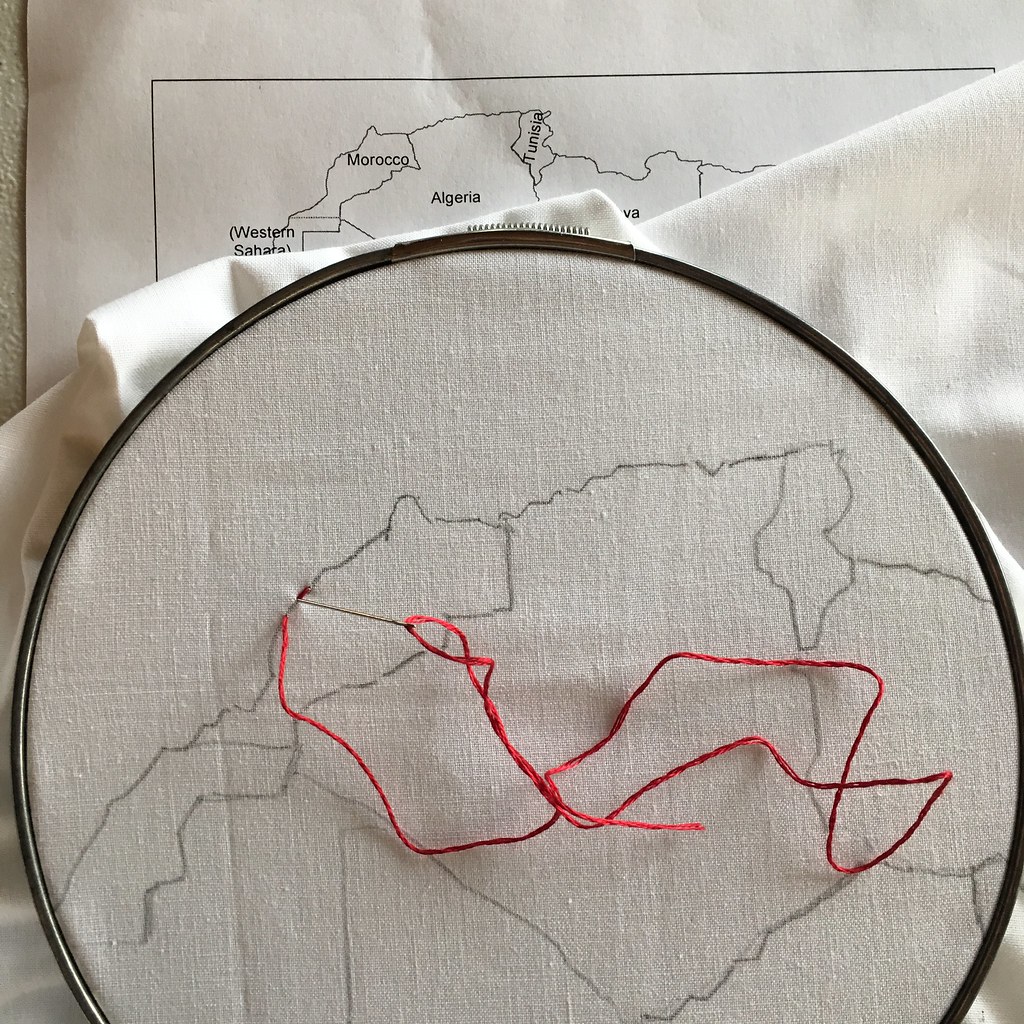
7. Remove the fabric with the traced map from the window, place in your embroidery hoop and prepare to embroider! I use three strands of six-strand DMC or Coats & Clark cotton embroidery floss for this size map.

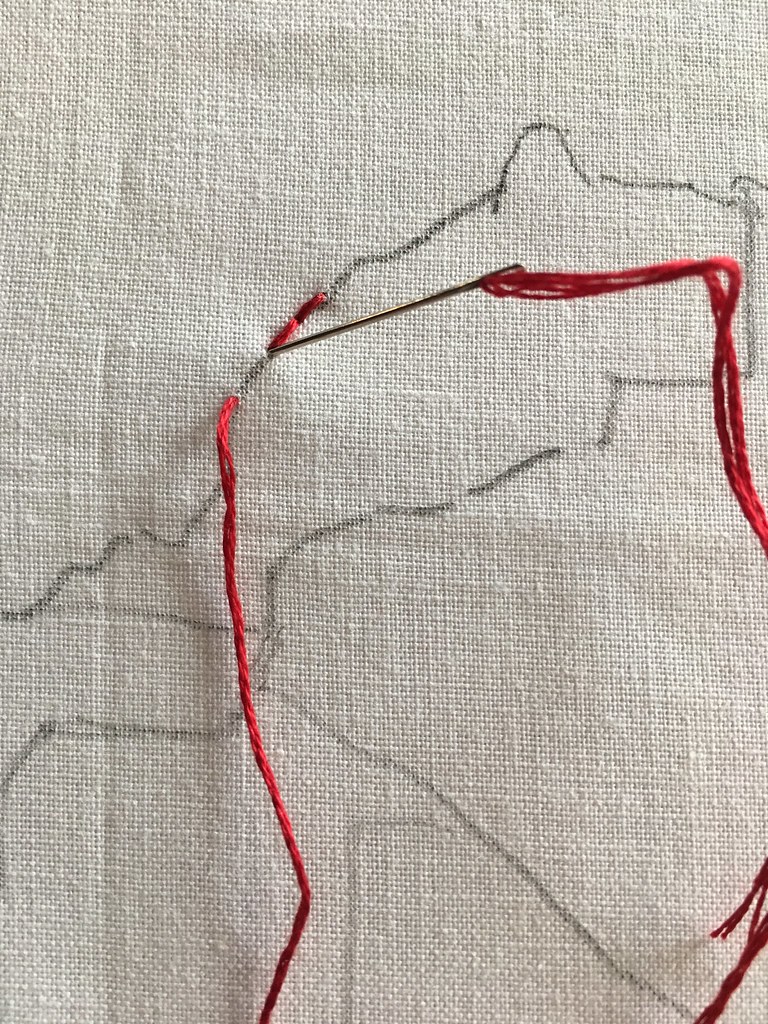
8. Look at your reference map as needed and start stitching. I use a simple backstitch to embroider because I can cleanly and accurately follow the borders. (Note: The first map I embroidered was Europe and before I embroidered any countries, I embroidered in blue any water border. With Africa, I am embroidering all of the countries first, then outlining the entire continent in blue.)
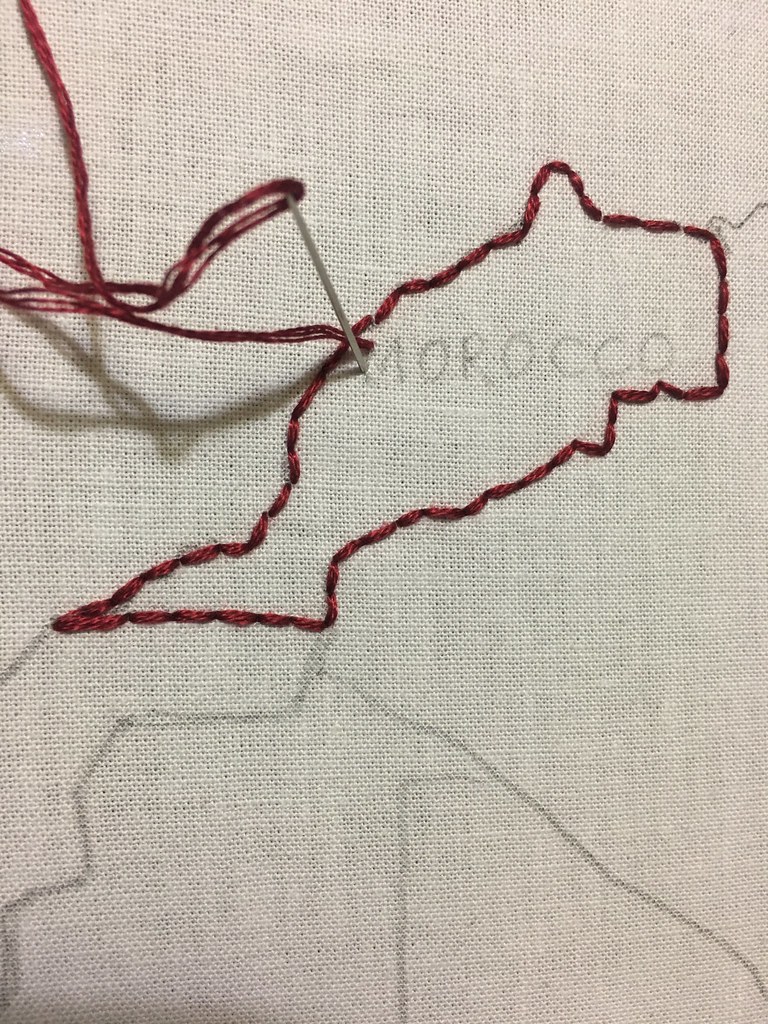
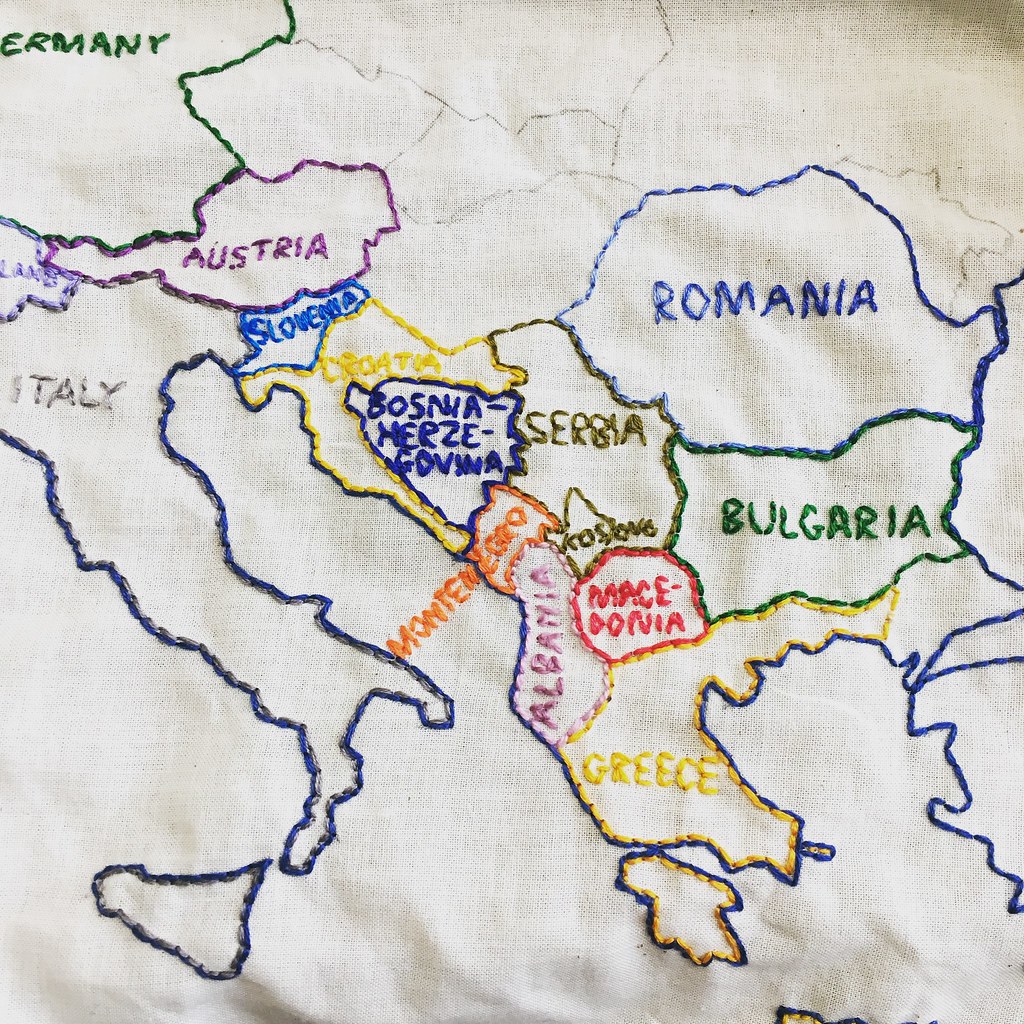
9. When you finish embroidering a country’s border, write the country’s name in pencil and embroider in the same color as the border. I use simple block letters and simple back stitch for the country names for legibility. For countries whose names are too large to fit within the border, creatively place the name with some of the letters falling within the border. I had to do this a few time in Europe and it was a fun challenge (see example below).
10. Repeat steps 8 and 9 until you have embroidered your continent. When I embroider adjoining countries, I choose colors that stand out from each other for visual clarity. I also embroider the adjacent country’s border right up against the already-completed border.
I plan to create another tutorial illustrating how I mounted the completed map on canvas so stay tuned….
And feel free to ask questions in the comments and share your experiences when you try this fun geography handicraft project!
